

Quick start
From sign-in to your first coding session in about five minutes. Running your own server? Start with Self-host.
Sign in
Section titled “Sign in”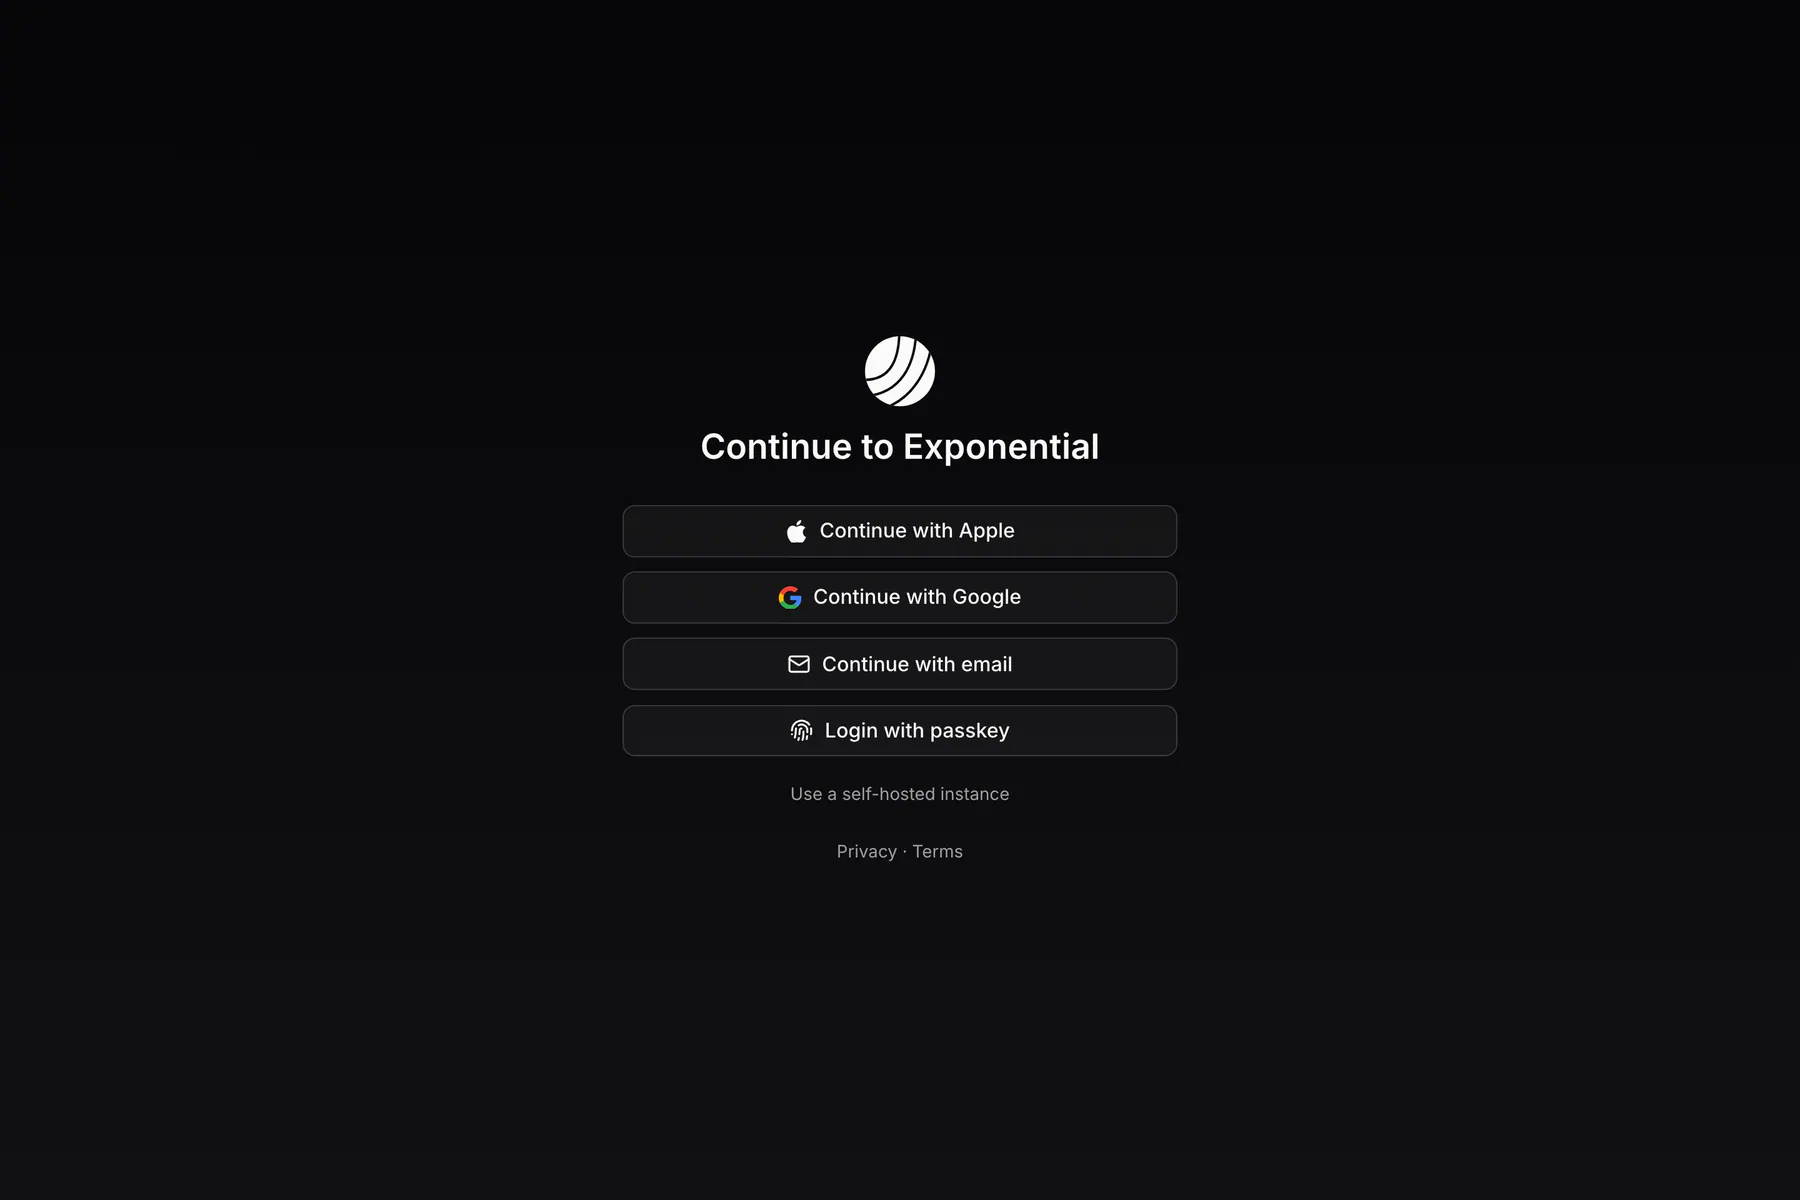
Open app.exponential.at and continue with Apple, Google, email (a 6-digit code is mailed to you) or a passkey. The first sign-in creates your account. Link more sign-in methods later under Settings → Account.
Create a team
Section titled “Create a team”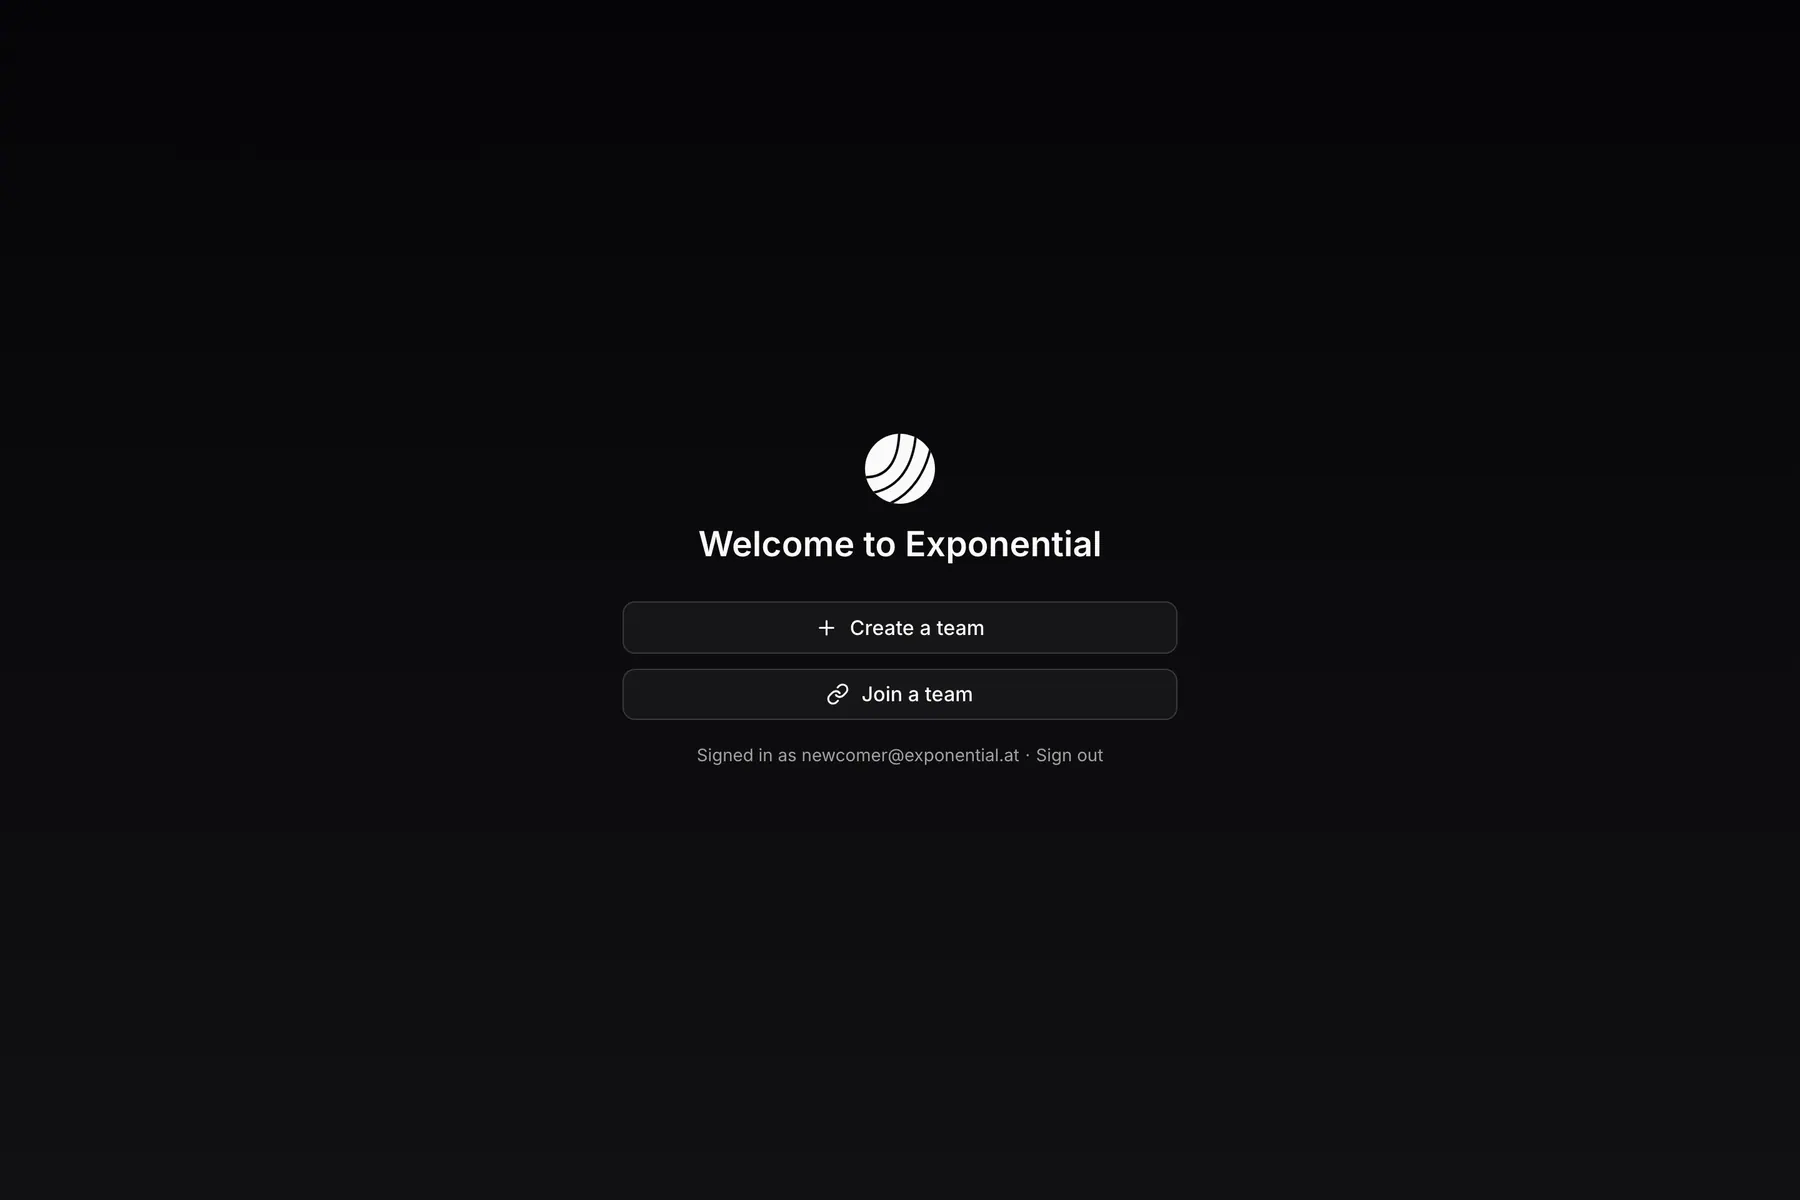
Create a team makes you its owner; Join a team takes an invite link. Boards, issues, members and repositories all live inside a team, and teams are invite-only.
The wizard then walks through three steps, each with Skip for now:
-
Create your first board. Pick an icon, a colour and a name. The Prefix (one to four letters or digits) numbers its issues:
EXPgivesEXP-1,EXP-2, which also name branches (exp/EXP-42) and references (#EXP-42). -
Invite your teammates. Send an invite by email or generate a link. Owners manage the team’s settings; every member can edit issues, run prompts and start sessions.
-
Set up your devices. See Set up a device below.
Connect GitHub
Section titled “Connect GitHub”A board with a connected repository gets the coding loop: sessions, exp/<IDENTIFIER> branches, pull requests linked to the issue, and the issue moving to Done when the PR merges.
-
Open Connect GitHub from Settings → Repositories, the Getting started checklist or the new-board dialog.
-
Connect your GitHub account.
-
Install the Exponential GitHub App on the account or organization that owns the repositories.
-
Pick the repositories the team codes on. Each board points at one.
The connection is per person; the repositories belong to the team. The server mints short-lived, repo-scoped tokens, so there is nothing to paste.
Set up a device
Section titled “Set up a device”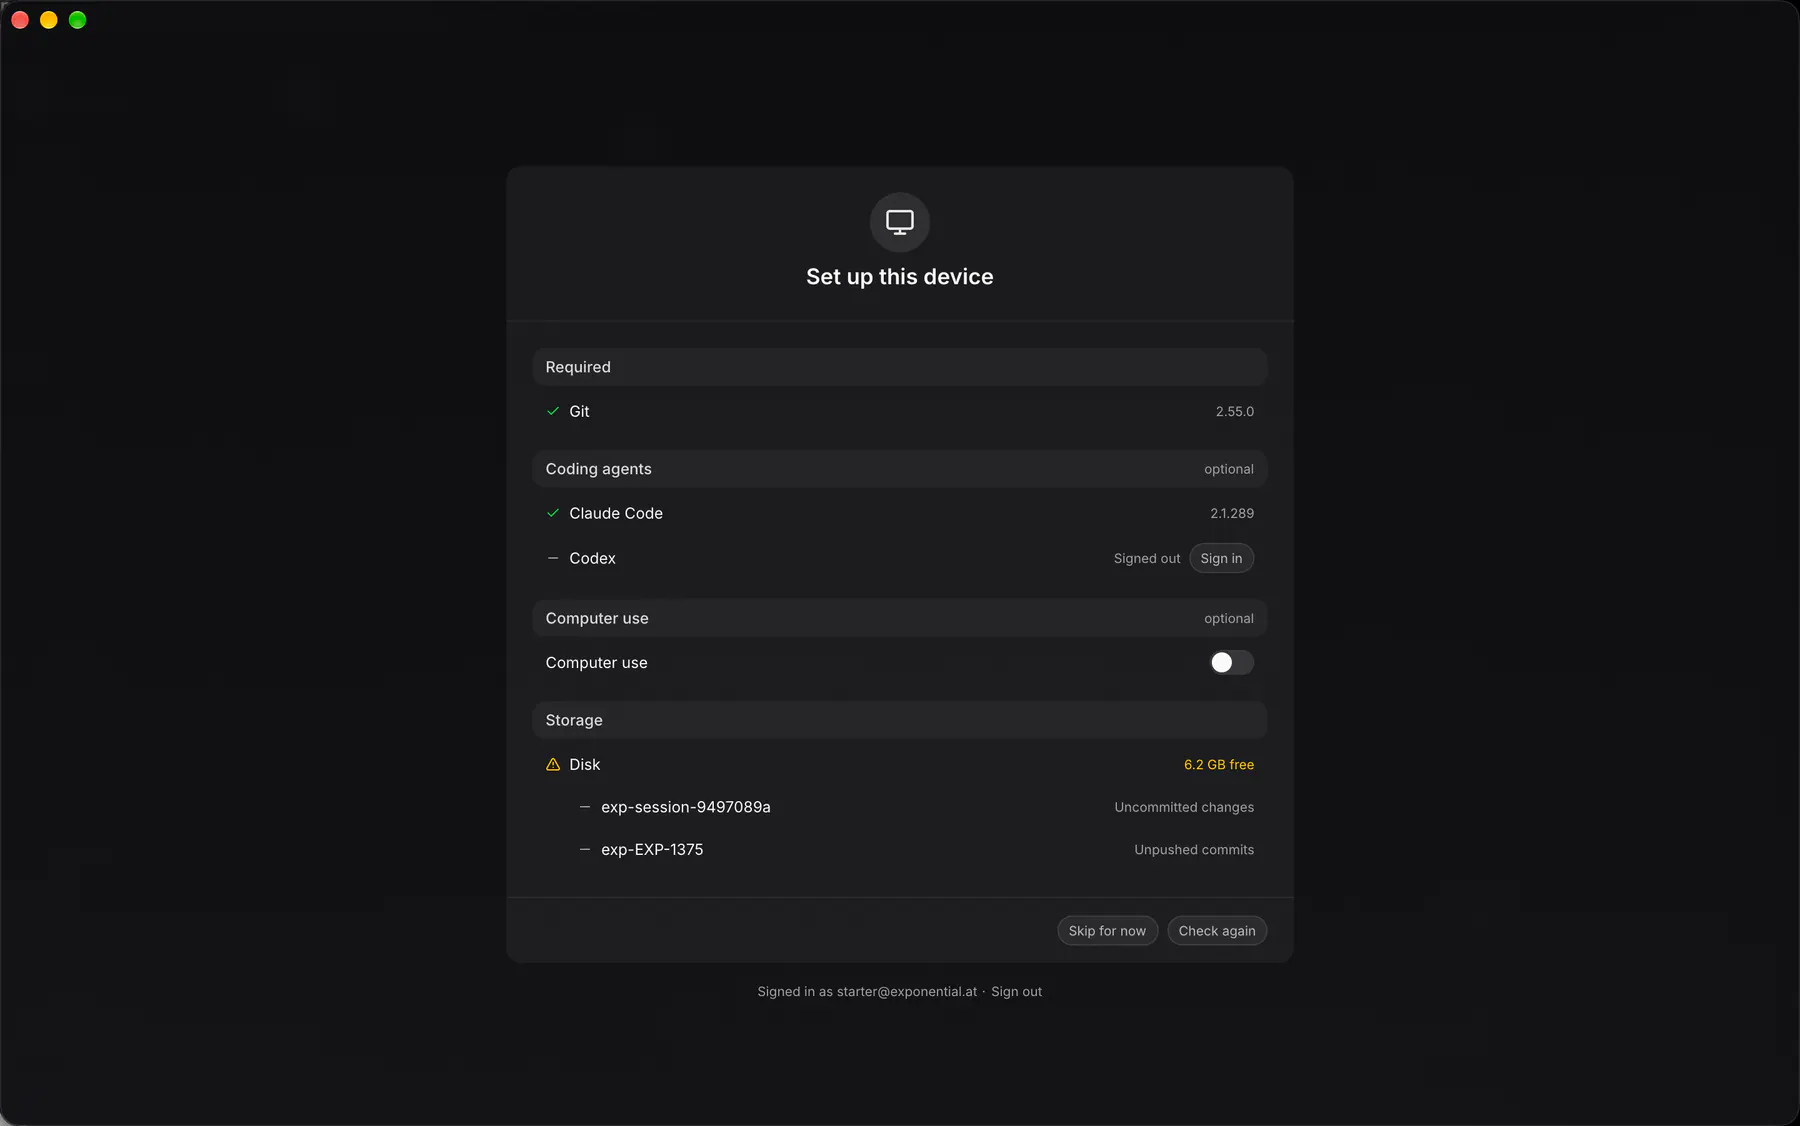
Coding sessions run on your own machines, with your own Claude Code or Codex subscription. A machine becomes a device when it runs the desktop app or the CLI daemon.
Download it from the download page:
- macOS: a notarized
.dmgfor Apple Silicon, macOS 13 or later. - Windows: a portable
.exefor x86_64. - Linux: an x86_64
AppImage, glibc 2.39 or newer (Ubuntu 24.04 and later).
Checksums and past versions are on GitHub Releases. On first launch, sign in to the cloud or enter your self-hosted URL.
For servers and headless machines (Linux x86_64 and arm64, macOS on Apple Silicon):
curl -fsSL https://exponential.at/install.sh | shThe script installs exponential, turns on updates, signs you in with a device code and starts the daemon at boot. Self-hosted: add EXP_INSTANCE=https://issues.example.com. The web app’s Add device dialog gives you the same command with a one-time token in it. More in CLI.
Set up this device then lists what the machine has: Git is required, plus at least one coding agent. Claude Code needs its claude CLI on your PATH; Codex needs no install: the app downloads its own build the first time you sign in to it. Each row offers Install, Sign in or Update.
Updates
Section titled “Updates”The desktop app checks for a new release at launch and every 30 minutes, downloads it in the background and verifies it against the published checksums. It restarts once its sessions pause between turns and no window has focus; sessions cut by the restart continue by themselves. Restart to update in the banner does it now.
Start your first session
Section titled “Start your first session”Open an issue on a repo-backed board and press Start. The agent implements it on your device, pushes and opens the pull request; the issue moves to In Review, then to Done when the PR merges. Sessions covers watching and steering.
Getting started in the app
Section titled “Getting started in the app”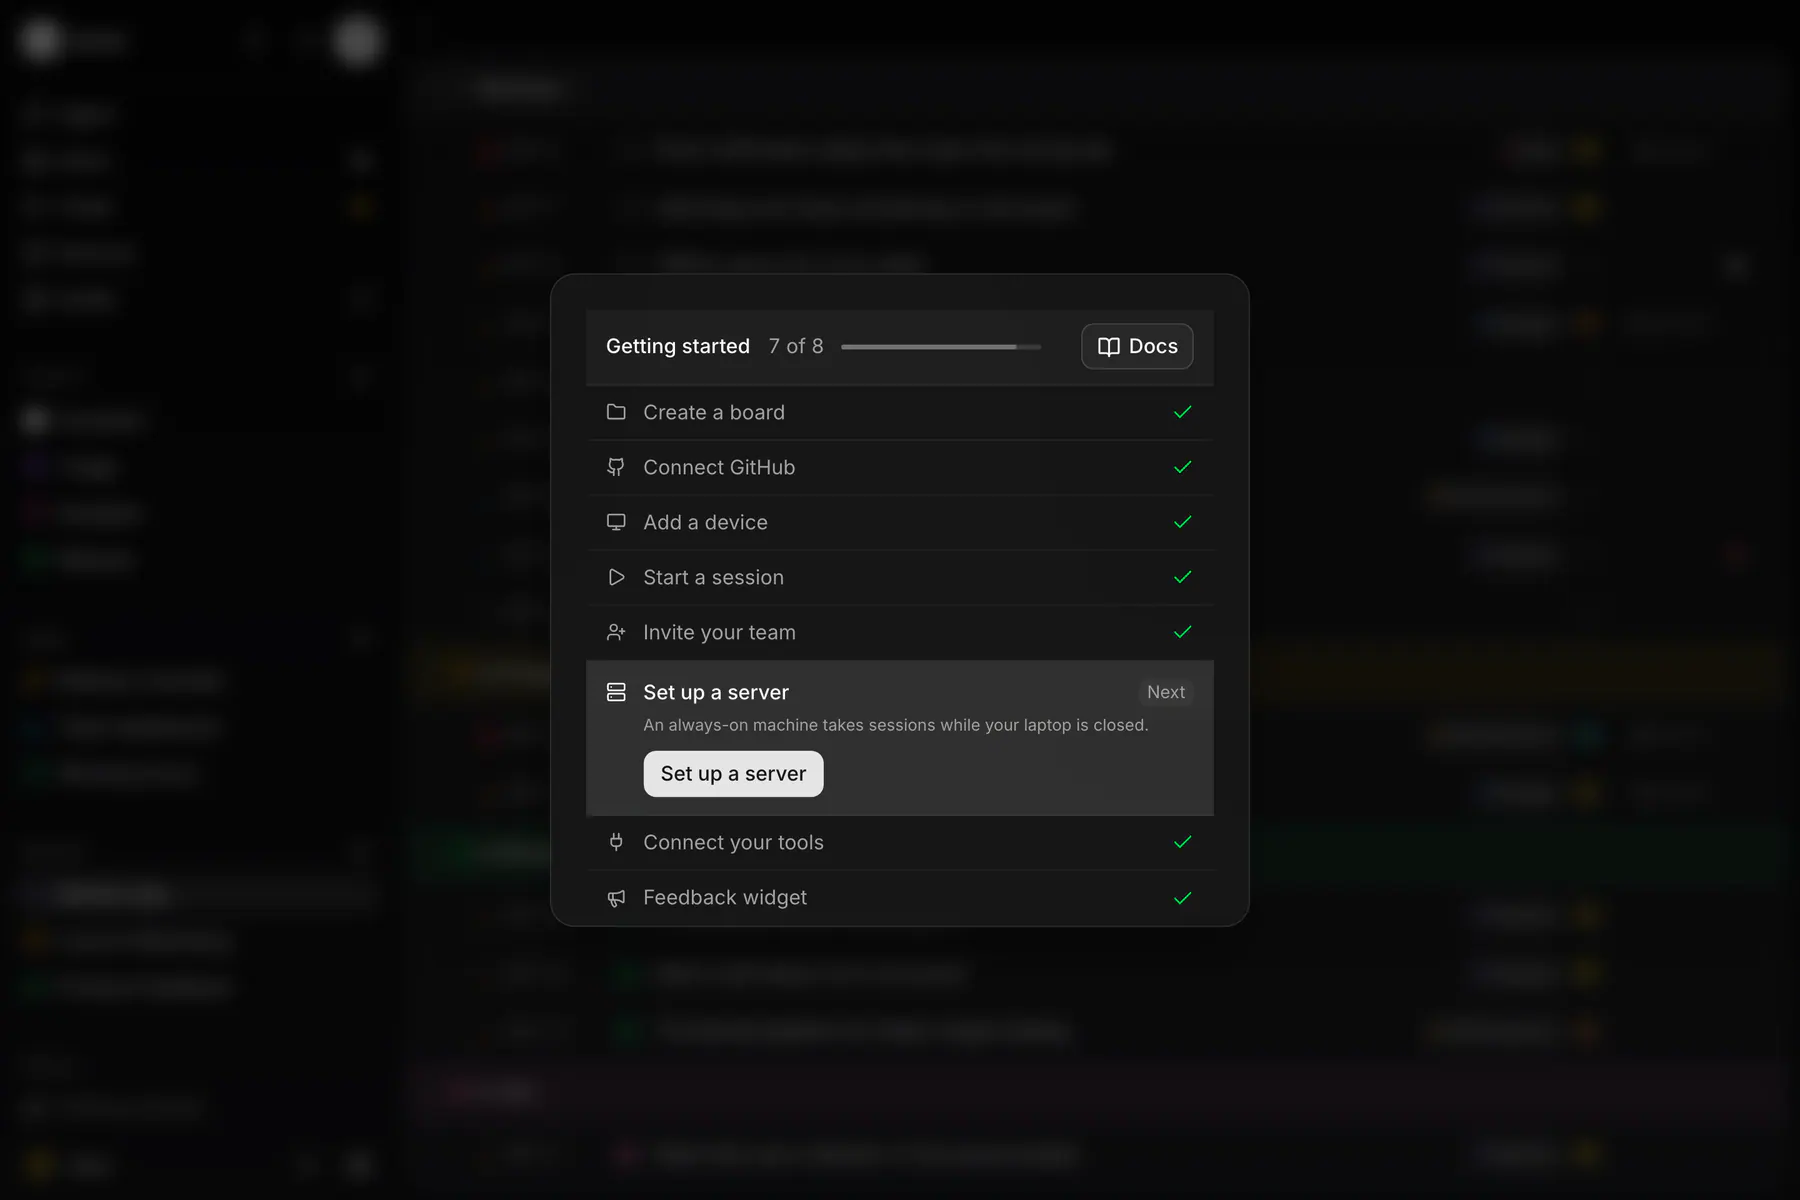
The app keeps the same path as a checklist under an empty board and behind Getting started in the sidebar. The next open step is expanded with its button; the checklist goes away once every step is done.